The journey upgrading your DDR mat to upper grade
– DIY
How it started…
My subtle dyslexic arse with a lack of dopamine gave up proofreading after multiple tries. If you see grammatical errors or some awkward sentences, move on. Use context clues to understand my post.
Since the long-feels like forever-lockdown started last year, I started exploring new hobbies at home. Well, let me rephrase it. All hobbies that I wanted to try out since junior high but couldn’t do due to lack of resources and my place to control. Yes, Typical millennial dilemma.
Even though the lockdown was lifted a long time ago in Sydney, my lifestyle that has been built up over time still stays nowadays. Since I stopped going to the gym because most of the gathering venues were closed last year, I found ways to do home training by myself.
What the heck-I don’t want to go back to the gym and don’t still feel safe going outside my home. However, I had to find some better alternatives for physical activity. That’s how I spontaneously ordered a DDR(Dance Dance Revolution) soft mat.
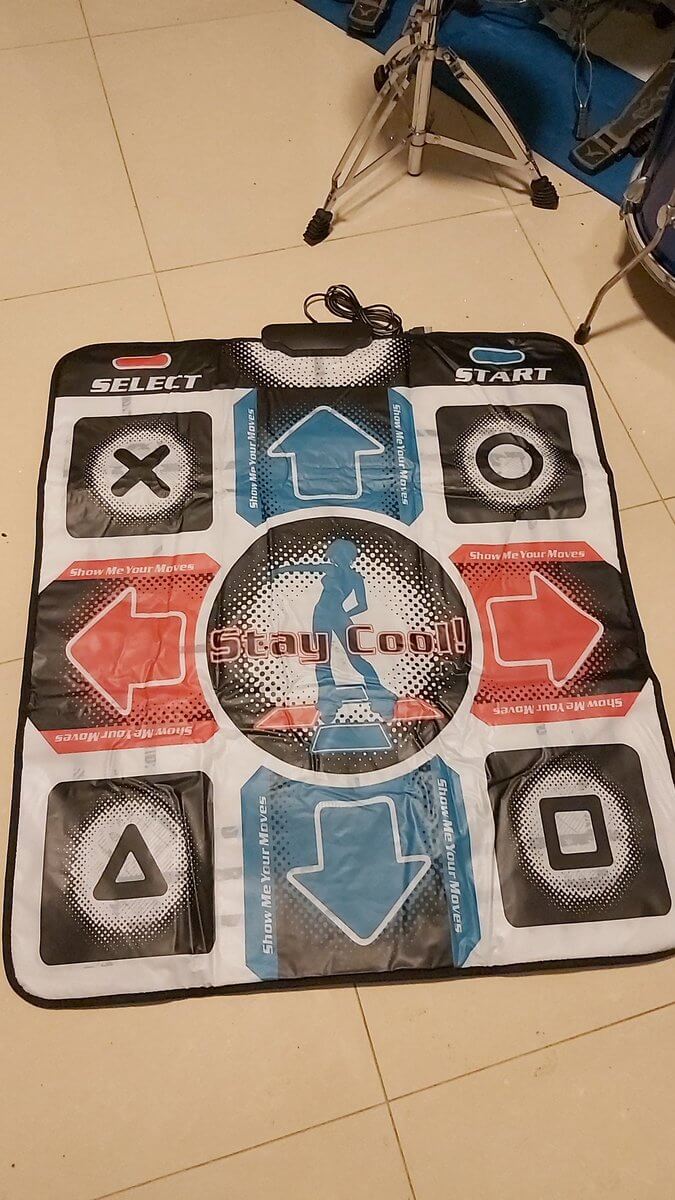
This is the mat I bought from eBay.
Very portable, foldable, and
BREAKABLE.
What I can say is that you get what you pay for. After one round of play on StepMania, the pad no longer detected any pressure from my foot moves.
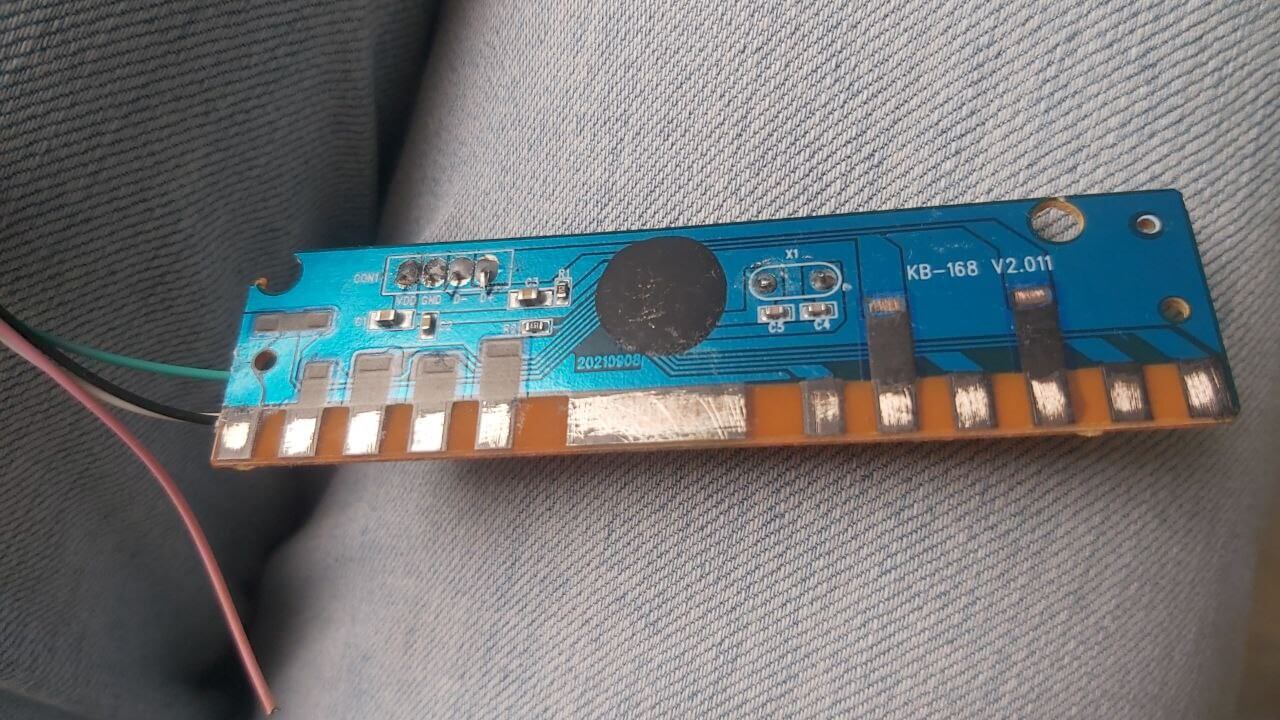
Disassemble
As the soft pad from eBay is no longer working - duh. I decided to dissect every single part of the components. I just wanted to see how the hell my $35 eBay pad got destroyed after one round of the game.
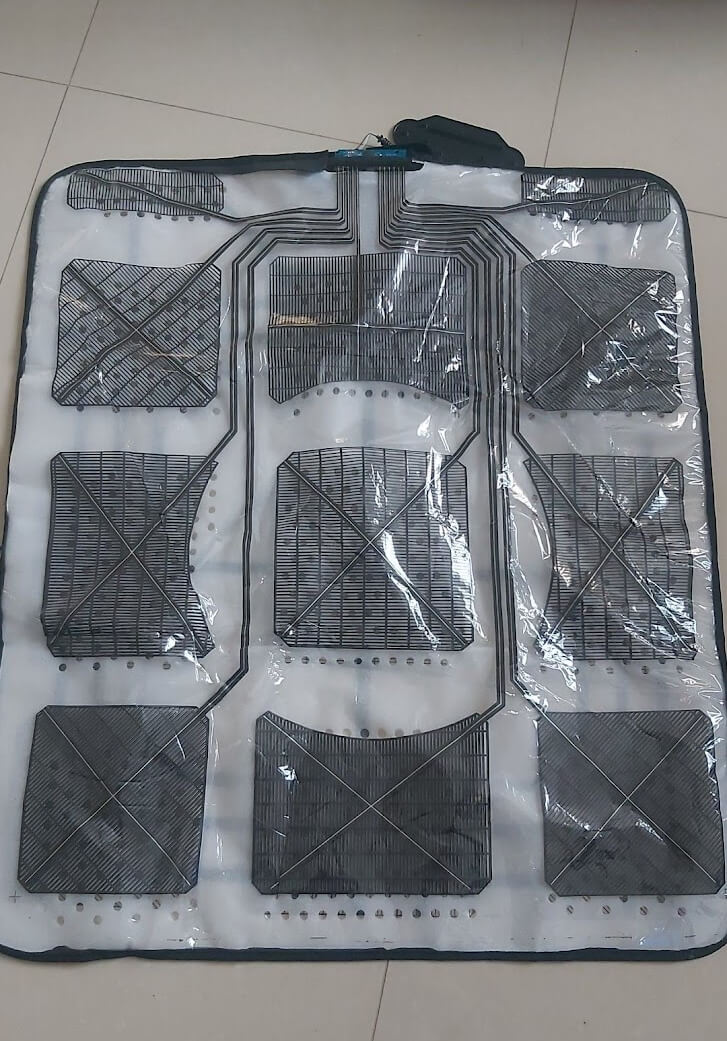
So I cut the cover layer. Entirely. I checked every single soldering contact on the PCB controller. I tried to find the issue on the controller. The carbon-printed film was ineffective enough to deliver the foot pressure triggers onto the controller board.
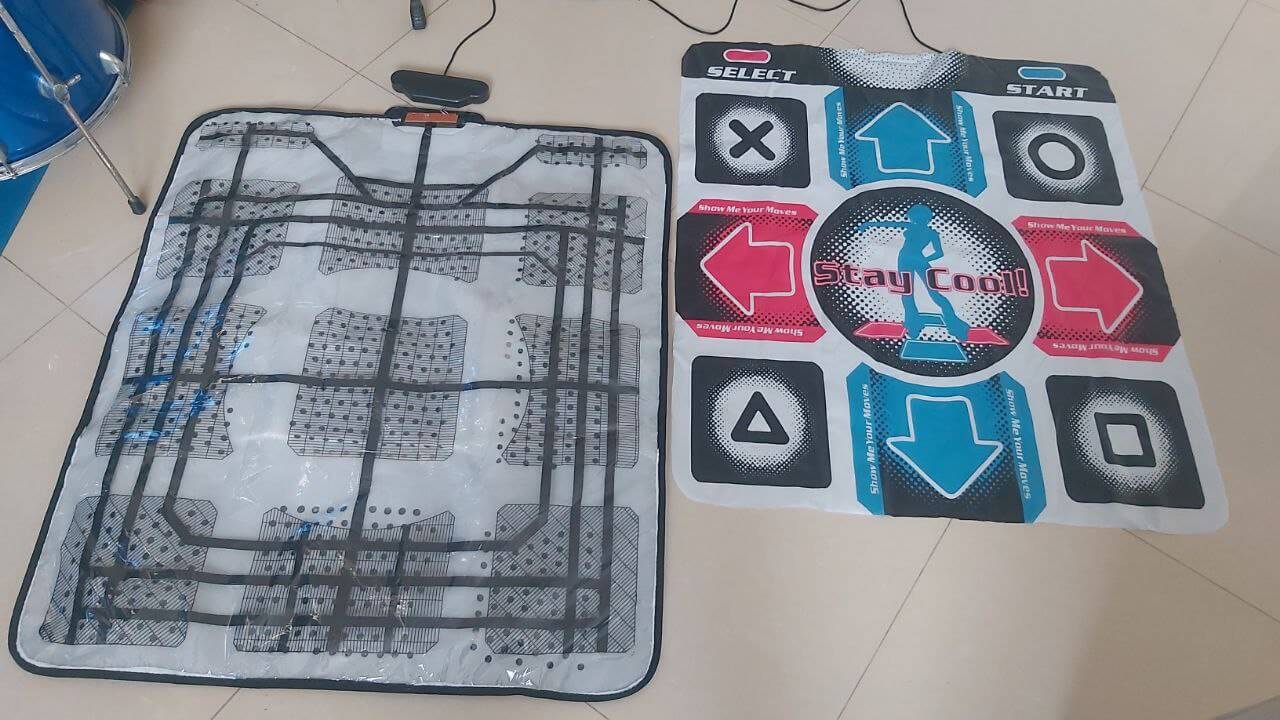

Method 1 - Put some additional hard panel supporting the soft mat pad.

This is so-called ‘soft pad mod’ from the Step Mania community.
Did it work? No. I wished that non-trigger detection was caused because the soft mat perhaps does not have solid contact between triggers. This was not working at all while USB-connection was working fine. This means the issue locates deeper than just uneven contacts.
Method 2 - Utilising the carbon film but securing the trigger connections more.
Even though the carbon trigger mechanism is inconsistent, I wanted to utilise what I have first. Making all triggers from the start sounds daunting, hey.
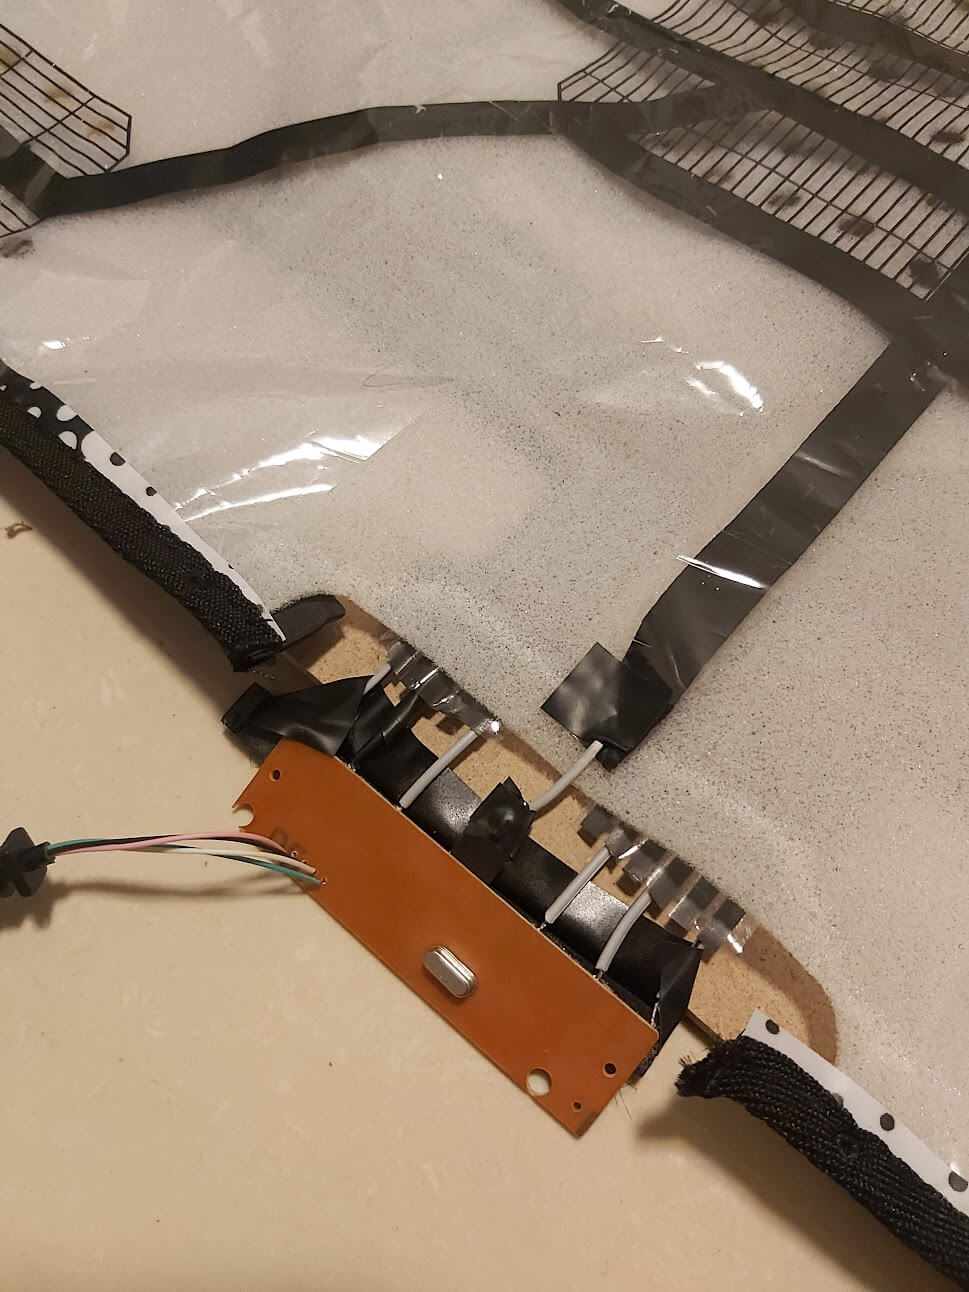
Let’s see if the wire connection to the carbon-printed film works.
Result: Not a single pinch of blood works.
(Yes, I know it does not sound like English. It is Kimboish. Get over it.)
Method 2 - Making new structures of trigger parts
Sayonara - shit-tier carbon film trigger sheet. I cut them off from the controller. As the trigger sheets were all about the carbon print circuit lines, the copper parts were also covered by carbon liquids. I grabbed my cheese-cutting knife from the kitchen and scratched every single part of the carbon covers on the PCB.
Decode the circuit logic
Oh, wait. Before chucking the flimsy trigger sheets (I mean, they are literally films.), Let’s decode the circuit logic of the eBay DDR pad. Although you may be able to walk around within the game’s internal mapping configuration, it’s still best to follow the consistency of connections on your controller. Agreed?
So I drew the electronic signal lines along with the original prints on films.
I am not familiar with electronic engineering at all. Thanks, Lockdowns. You made me feel brand new.
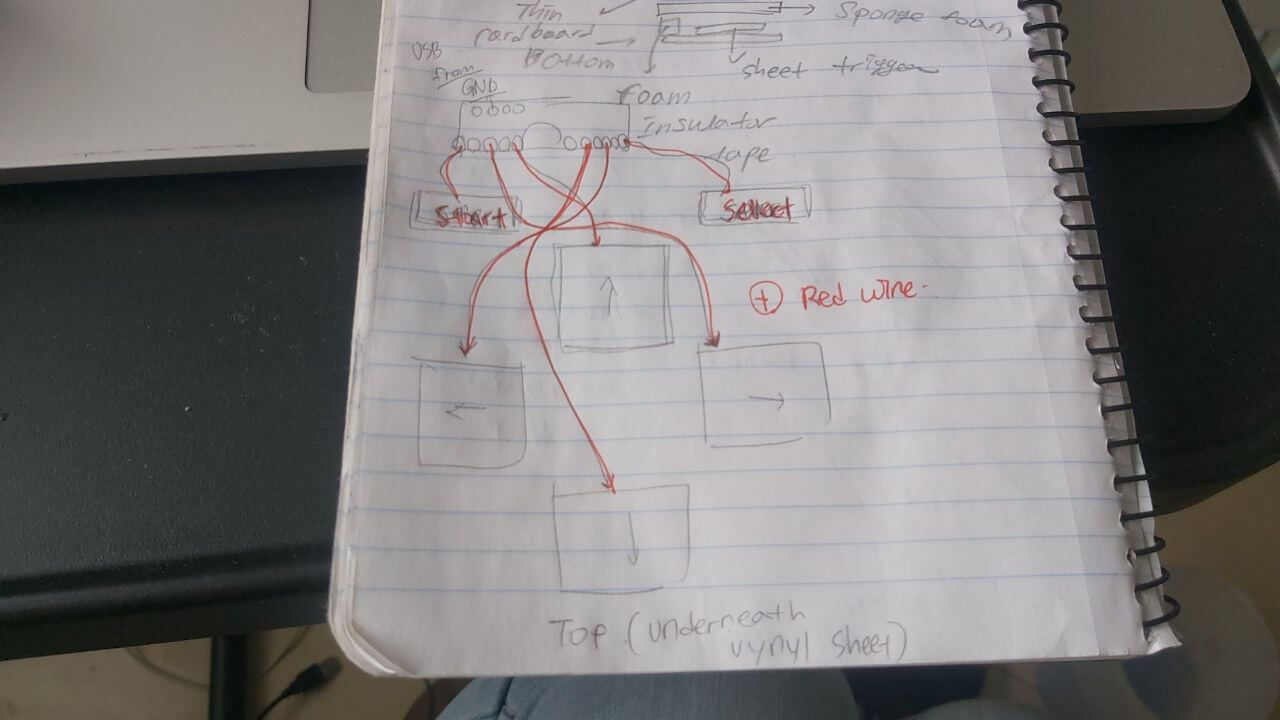
All Combined, the schema of the trigger logic look something like this.
YouTube sensei never says never.
There are plenty of DIY videos showing how to make your own DDR. Some guides focus on making the full arcade style. On the other hand, some tutorials instruct how to modify soft pads more securely with minimal effort.
However, I am too lazy to make the full arcade version, and my soft pad was too damaged to modify. I opted to go the half-assed way.
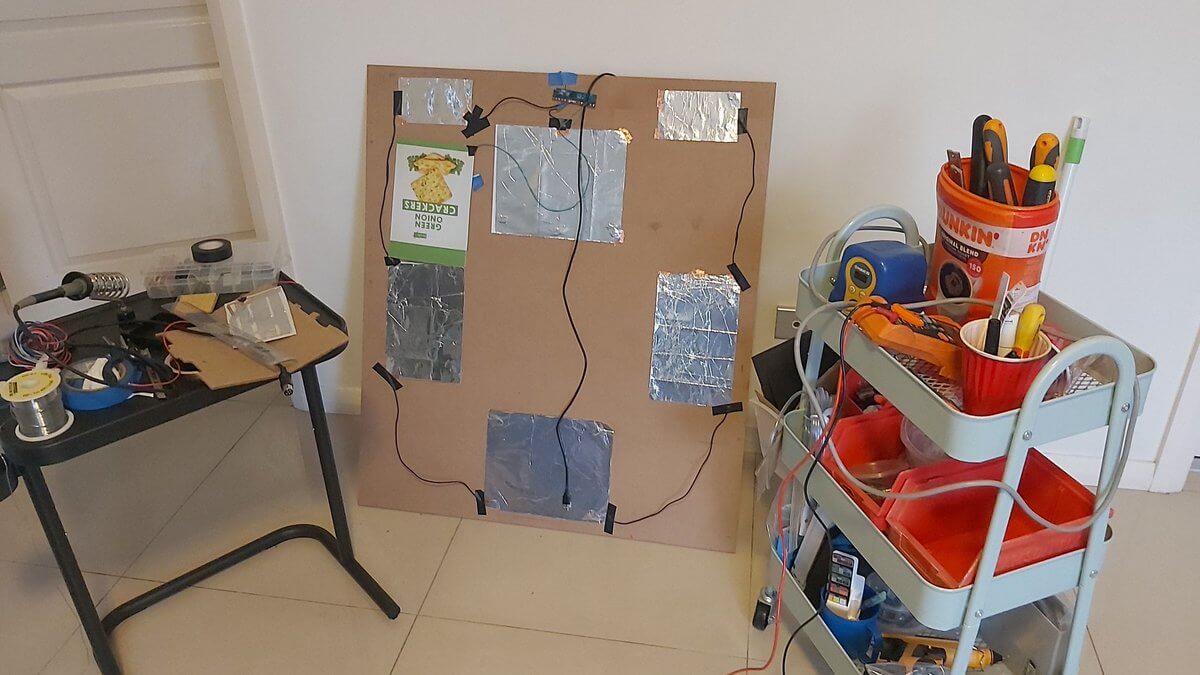
Firstly, I bought the MDF panel from Bunnings. The depth is 6mm. Width and Height? I don’t remember…to be honest. I grabbed the most oversized panel and asked a workshop bro to cut them for me. Man, Bunning’s rocks. Anyway, the base panel size is 80 cm in width and 90 cm in height.
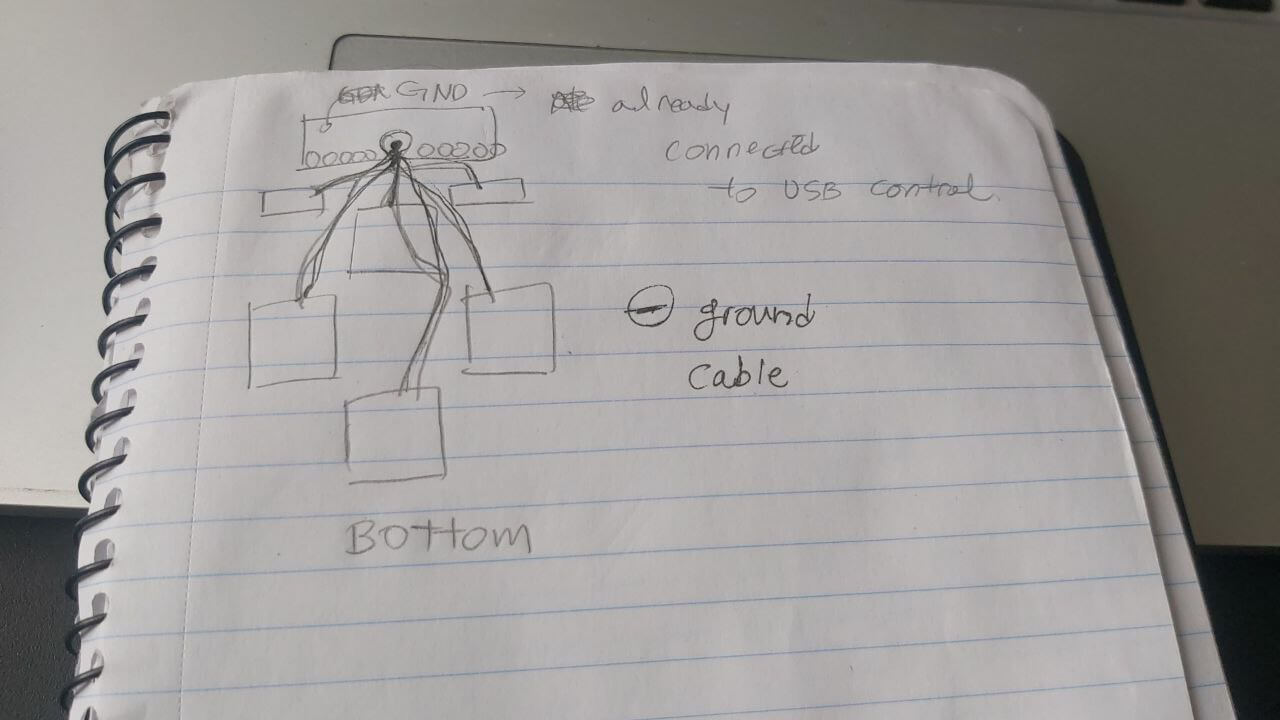
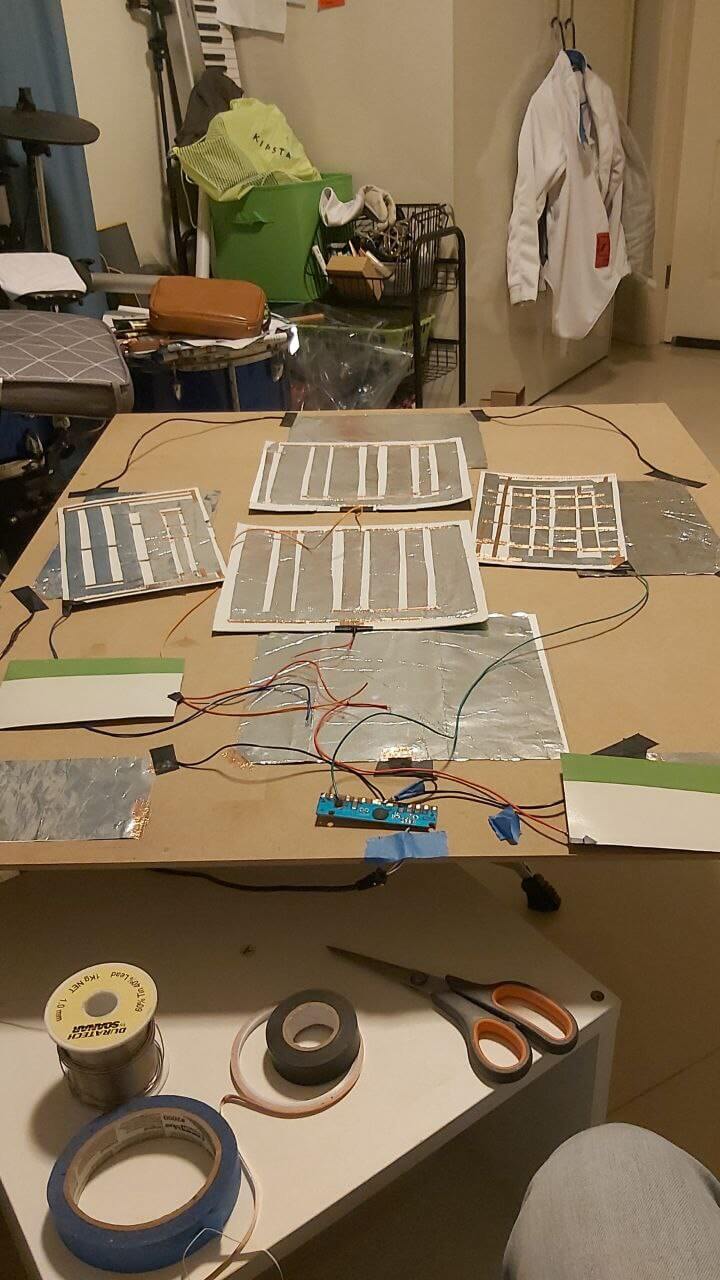
Once the base is set to place, I made a bunch of aluminium foil sheet triggers. Simply I attached the kitchen foils on the top of A4 papers with stick glues. The aluminium foil sheet itself is not so sensitive enough. I bought a copper tape from JayCar and fetched some supporting trigger lines along with foil sheet triggers.
The two sheets should touch each other only when you step on the intended positions. So I soldered ground cables on the bottom trigger sheets. And then, soldered the top trigger layers will be connected to the controller sections.

I can’t fucking believe that I spent the whole weekend planning and soldering all triggers!
Although I chucked the film trigger into the bin, I scavenged other materials as much as possible. Reducing landfills!
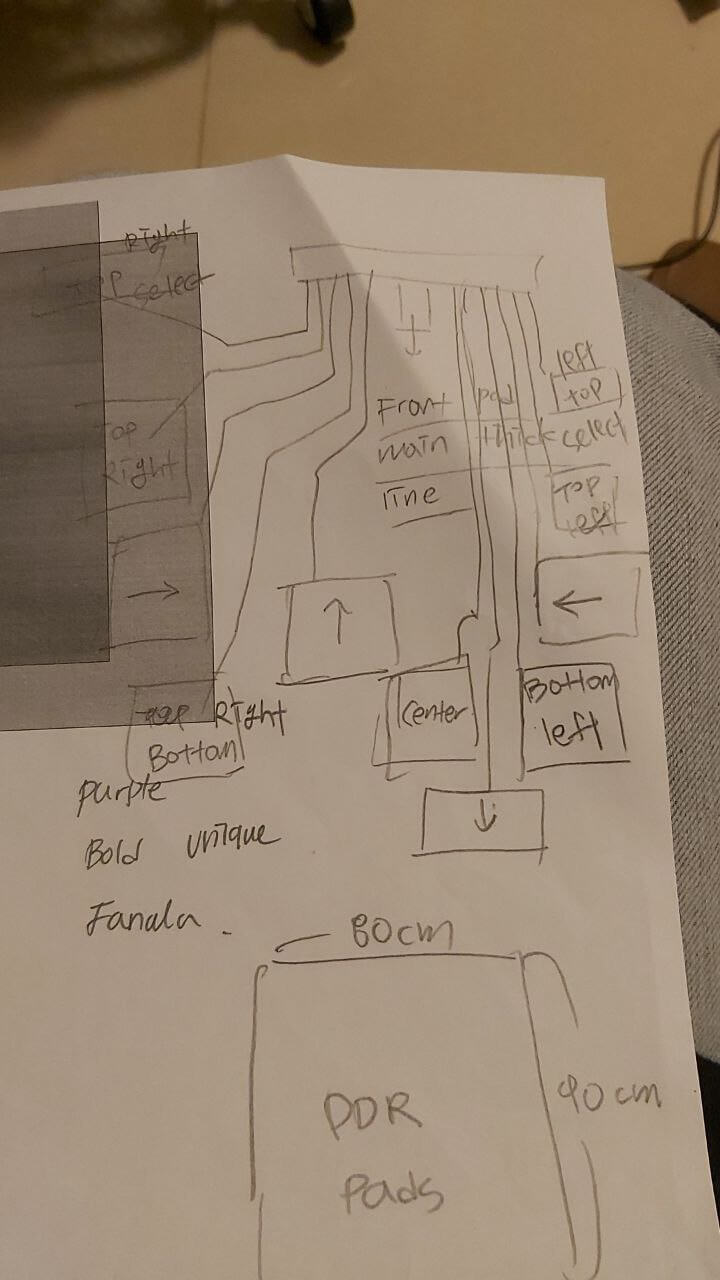
Inside my custom DDR pad, this is how I structured the trigger layouts.
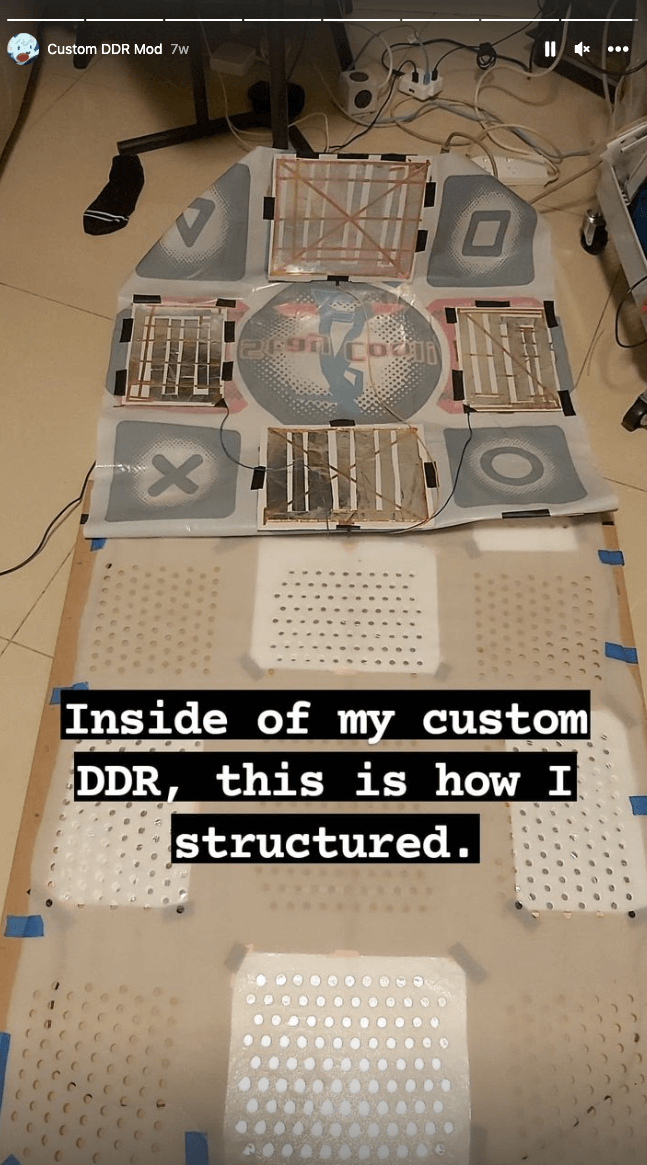
Ahhhh - This is levitating.
Completion and Testing DDR mat
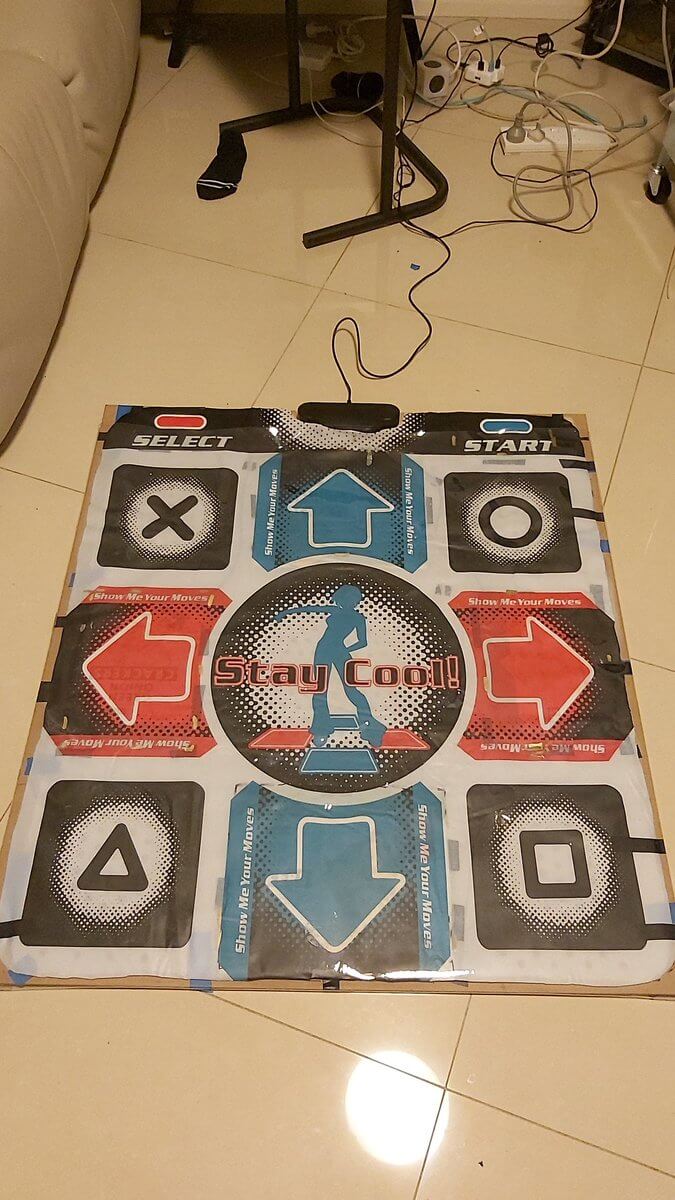
Finishing with thick vinyl sheets to protect the pad layers underneath.
Before firmly binding layers, Let’s test if this works! (And I hope it does. I spent my whole weekend building this damn pad.)
With a bit of trial and error, I was able to make my own DDR game that I can now enjoy whenever I want!
Let’s Test!
Heck ya!!! It works perfectly!
Final Product
The Actual Play
Although I probably need to do more cosmetic work, I am already too tired. For a while, I think I will be pretty happy with this.
To test more intensively, I played the classic rhythm game song ‘Beethoven Virus’ 🤣
Gees. The underneath is way too much slippery. I may need to tact some carpet tapes underneath my custom DDR pad.
Related Articles
2023-05-30-The summary of 2023.April-kr
2023-07-25-The summary of 2023.May-kr
2023-03-21-The summary of 2022-Dec-kr